top of page

Introduction


The Reverse Dumbbell Bear Crawl is another movement you don't see every day but it is one of the best core, hips, and shoulder movements around. It can be done with or without the DBs (dumbbells) making it not only accessible but simple and effective.


I would put the Reverse DB Bear Crawl into the same movement category as the bird dogs and dead bugs. The bird dog is one the movements in Stewart McGill's "Big Three". Designed to build core strength and stability the bird dog (and Reverse DB Bear Crawl) is something everyone should be doing more often.


PS If you don't know who Stewart McGill is... you should... here are a couple of articles on "The Big Three":


Read all the way through for three workouts you can do with the Reverse DB Bear Crawl.


CHECK OUT OUR VIDEO

Check out our YouTube video on

"Reverse DB Bear Crawl" below and see a step-by-step guide on how to do it!


What is a Reverse DB Bear Crawl?

Well, it is exactly what it sounds like... and if you haven't watched the video already check it out! The RDBBC (Reverse Dumbbell Bear Crawl) is designed to build, core strength, stability, coordination, and balance. Like I said earlier it has all the same benefits as the bird dog but potentially more since we can add resistance.


Muscles Worked:

Overall we are working a lot with this one movement. Number one is core engagement in general. After that, it is equal parts shoulders, hips, grip, lats, and triceps. If you are doing the RDBBC for the first time you will definitely be sore in some weird places the next day but in all the right ways. It is not something you will feel the "soreness" immediately but it is a slow burn that will creep up the next day.


Why this matters: 

Besides arguably being as beneficial as the bird dog the RDBBC is a huge payout in benefits with minimal impact or risk. It is accessible, simple, and effective. All while helping you build and condition your core which benefits everyone regardless of their activity level, life style or sport.


Step-by-Step Guide to Mastering the Gorilla Row


Don't forget to Check out the video for a demonstration if you haven't already.


Step 1: Setup and Stance

Start with the DBs and hands directly below the shoulders, and the knees bent at 90 degrees directly below the hips.

Step 2: Grip

Grip the handles like a hammer with your grip centered on the handle.

Step 3: Execution

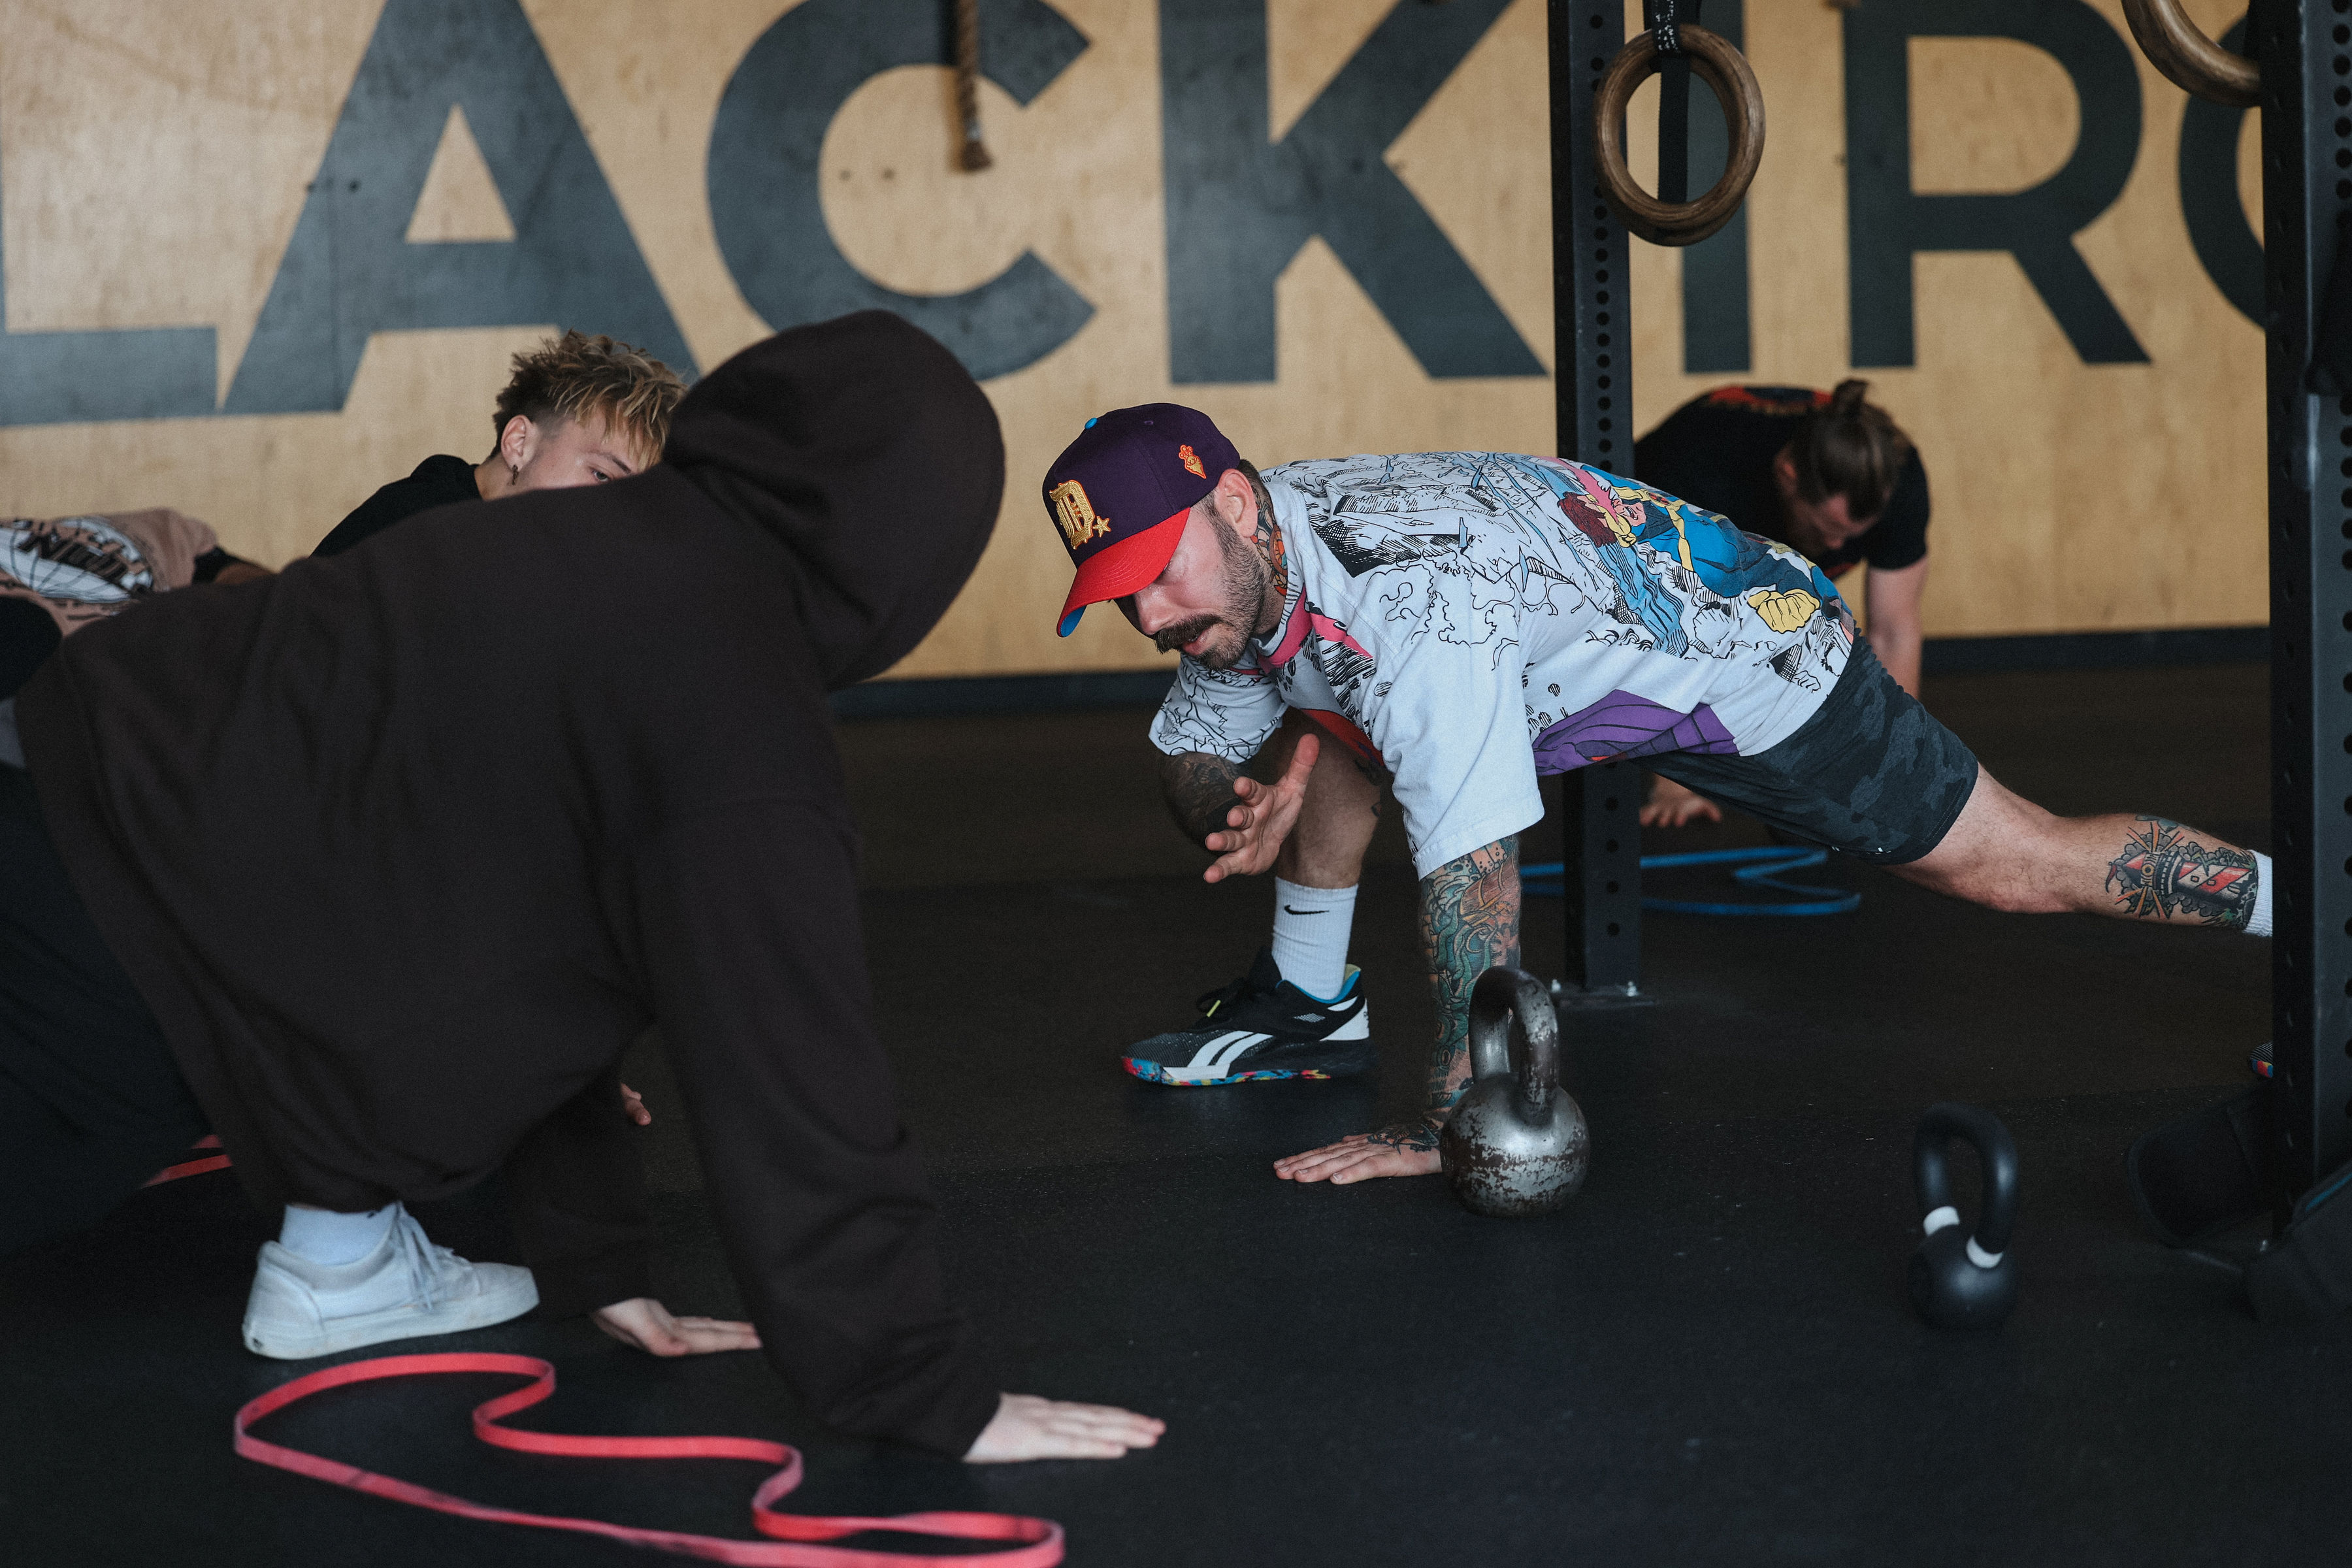
Push off with your right hand and pull back on the dumbbell with your left as you reach your right leg back. Keep the core tight and keep the movement small and choppy.


Common Faults:

  • Not moving the opposite arm and leg

  • Too much rotation as you crawl

  • Making your movements with the arms or legs too big

  • Not keeping your core engaged throughout the movement


How to incorporate this into a workout:

The options are limitless when it comes to programming this movement into a workout or program. Because you are hitting so much with this one movement it can easily be the warm-up or the highlight of your training day.


WORKOUT EXAMPLES:

Simple & Effective

4 rounds for Quality of

20 feet of Reverse DB Bear Crawl

20- DB Hang Power Cleans

20 feet of Reverse DB Bear Crawl

20- DB Front Squats


STRENGTH Focus

20 minutes for Quality

20- Barbell Bent Over Rows

20 feet Reverse DB Bear Crawl

20-second MAX Calorie Bike or Ski

20-second Handstand hold


Note: Ideally resting 2 to 3 minutes between rounds to keep the quality and intensity high.


Conditioning Focus

3 Rounds for time

20 Burpees

20 feet of Reverse DB Bear Crawl

20 Box Jumps

20 feet of Reverse DB Bear Crawl


What's next?

Get moving! Try this movement out for yourself and see why the Reverse DB Bear Crawl is arguably one of the best movements you didn't know you needed. You can also come join us for a FREE CLASS at Black Iron Athletics. We incorporate movements like this into our program so you don't have to miss out on any of these hidden gems.


FOLLOW US on Instagram: @BlackIron_Athletics

6 views0 comments

The Snatch is a lot of people's least favorite movement because it is so difficult to master. That's exactly why I wanted to cover the Snatch in detail in the video below. You can spend years trying to learn but I can promise you learning step by step from the top down is the only way to go!


CHECK OUT OUR VIDEO


Check out our YouTube video on

"Learning to Master the Snatch" below and see a step-by-step guide on how to do it!


Make sure you watch the entire video to see some of the most common faults and how to fix them at the end.


If you found this video helpful then just imagine jumping into a class with us! Click the link below to try a FREE class today.


FOLLOW US on Instagram: @BlackIron_Athletics


4 views0 comments

Introduction


The Kettlebell Gorilla Row is almost never talked about but it is one of the best movements to build your upper-body strength. Not only are we working the upper body but with the gorilla row we can engage the core in a way that a lot of movements cannot. You wrap all that up and add in the fact that we are stretching the lower back and hamstrings at the same time... PERFECTION.


Read all the way through for three workouts you can do with the Kettlebell Gorilla Row.

CHECK OUT OUR VIDEO

Check out our YouTube video on

"Mastering the Gorilla Row" below and see a step-by-step guide on how to do it!


What is a Gorilla Row?

The gorilla row is an alternating upper-body row using two kettlebells or two dumbbells. This is done in a bent-over row position with your body parallel to the ground.


Muscles Worked:

Primarily you are working your back and biceps. More specifically the lats, rhomboids, and traps in your mid to upper back. Second, you are hitting the lower back, posterior delts, core, and forearms.


Benefits:

There is some many benefits packed into this one movement. We are working on building upper-body strength and muscular endurance. But we are also building a stronger lower back and core. The bonus benefits happen in holding the position itself, before you even row, or between reps. Here we are actively stretching the lower back and hamstrings, which let's face we could all use a little help back there.


Why this matters:

If you aren't already convinced that this is one of the best movements you could easily add into your routine, think about this. How often do you need to bend over and pick something up? I'll tell you... everything single day, and we rarely treat picking our keys up like a one-rep max deadlift. More than likely we find ourselves bending over, and rowing the object up to the body or shoulder. Learning to brace in that bent-over position is crucial to keeping our back safe and keeping us moving in general. If you are one of the majority out there who suffer from a tight posterior chain (low back and hammies) then you need this movement in your life. Buy a couple of light kettlebells and get to work!


Step-by-Step Guide to Mastering the Gorilla Row


Don't forget to Check out the video for a demonstration if you haven't already.


Step 1: Setup and Stance

Start with the feet about shoulder width. Place the kettlebells between the rows with the handles facing each other. Keeping the hips high, and the shins vertical bend over and prop yourself up over the bells.

Step 2: Grip

Grip the handles like a hammer with your grip centered on the handle.

Step 3: Execution

Without rotating your grip press one hand down into the kettlebell on the floor while you pull with the other. Pull your thumb towards your armpit and lower back down with control. Once the pull is finished and the kettlebell is back on the ground, press that hand into the bell and pull in the same fashion as the other side. Alternating sides every rep and staying tight.


Common Faults:

  • Dropping the hips as you pull

  • Overly rotating the back as you pull

  • Not controlling the kettlebell as you come down (making too much noise or impact)

  • Not keeping your core engaged throughout the movement


How to incorporate this into a workout:

The options are limitless when it comes to programming this movement into a workout or program. One of the things I love about this movement is that it is often hard to get an upper-body pull, row, etc... into your training without access to machines or a pull-up bar. With that in mind, the Kettlebell Gorilla Row is a great option for people working out from home or on the road. Here are three examples of different style workouts you could do with the KBGRs.


WORKOUT EXAMPLES:

Simple & Effective

5 rounds for Quality of

20- Alternating Kettlebell Gorilla Rows

20- Push-ups


METCON Style

AMRAP in 10 minutes of

10- Alternating Kettlebell Gorilla Rows

10- Alternating Kettlebell Front Rack Lunges

10-Kettlebell Push Press

10- Kettlebell Front Squats


Note: AMRAP stands for as many rounds as possible, and is scored by the number of Rounds you completed + the numbers or reps you did in the last round you did not complete.

Conditioning Focus

For time

500m Shuttle Run

20- Alternating Kettlebell Gorilla Rows

400m Shuttle Run

20- Alternating Kettlebell Gorilla Rows

300m Shuttle Run

20- Alternating Kettlebell Gorilla Rows

200m Shuttle Run

20- Alternating Kettlebell Gorilla Rows

100m Shuttle Run 20- Alternating Kettlebell Gorilla Rows


What's next?

Get moving! Try this movement out for yourself and see why the kettlebell gorilla row is king. You can also come join us for a FREE CLASS at Black Iron Athletics. We incorporate movements like this into our program so you don't have to miss out on any of these hidden gems.


FOLLOW US on Instagram: @BlackIron_Athletics

15 views0 comments
  • Instagram
  • Facebook
  • YouTube
bottom of page